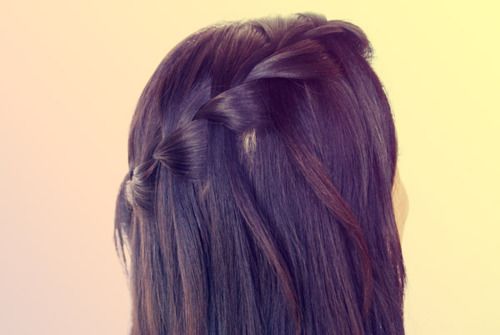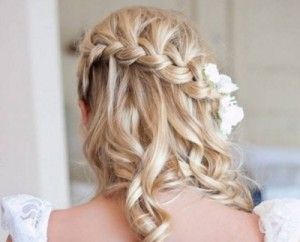
Braids always look elegant and chic. No matter what the occasion is, braids add classiness and a girlish touch to you hair. Waterfall braids look complex to make but in fact they are easier than you think they are.
Waterfall Braid Tutorial

Water fall braids are best for straight hair because the waterfall effect is more prominent. So, starighten your hair with a hair straightener before you start braiding. You can still try this hairstyle if your hair is wavy with some loose curls on the ends.
First, decide where you want to start your braid. It usually starts from the front section where your hair is parted. Brush your hair so that there aren’t any knots. Part you hair and start from the side you want your braid to be.
Grab a section and divide into three more sections. Start braiding like a french braid for a few times.
Hold the left section and cross it over the middle section. Then take the right section and add it on top of middle and left section.
Now drop the left section and you’ll notice that the right section has now become your left section so you need to pick a new right section. And repeat the first step. Cross the left strand over the middle then, cross the right section over the top of middle and left section, now drop the left section and pick a new one.
After braiding like this for a few times, you’ll notice the waterfall effect coming. Continue braiding until you have reached where you want to end your braid. You can use fun accessories for an elegant and summery look.
There are many styles that can be created using this waterfall braid technique. Some people start from one ear and braid all the way till the other ear other braid only on one side. It all depends on what you like. Happy Braiding!
Image source: Google Images

Leave a Reply